
People are often surprised that matching paint is not as simple as looking up a code and pouring the color into a spray gun. If it were, every repaired panel would match perfectly, and you would never see a door that looks slightly different from the fender next to it. The good news is that a careful shop can make a repair invisible. Here is how.
Step 1: Find the paint code
Every car leaves the factory with a paint code, a short reference for the exact color the manufacturer used. It is printed on a label on the car, most often in the driver's door jamb. Ford, for example, tells owners to look for the code on the door jamb label, where it is marked as the exterior paint[1]. Other manufacturers put the label under the hood, in the trunk or in the glove box, and your owner's manual or dealer can tell you where to look.
When you request an estimate for paint work, a photo of that label saves a step. If you cannot find it, the shop can find it from the vehicle identification number or by checking the car in person.
Step 2: Accept that the code is only a starting point
A code tells you which color the factory intended. It does not tell you which version of that color your car actually got, or how much it has changed since.
- Color variants. The same named color can come out slightly differently from different plants, paint batches and years. Paint makers publish variants of a single code, a little lighter, darker, warmer or cooler, so the painter can choose the closest one.
- Age and sun. Paint changes as it ages, especially under strong sun. A car that has spent years parked outside on Oahu will not look the same as it did on day one.
- Previous repairs. If a panel was painted before, it may not match the factory finish exactly either.
PPG, one of the large refinish paint makers, builds this into its procedure. Its color-identification steps start with reading the manufacturer's color code from the vehicle, then checking variant colors using a color deck or a spray-out card[2].
Step 3: Measure and compare
Many shops now use a handheld spectrophotometer as well as the human eye. The tool reads the existing paint from several angles. That matters because metallic and pearl colors look different depending on where you stand. Axalta describes its instruments as measuring color and effect characteristics at multiple angles, with software that then suggests the closest formula[4].
The machine gives a strong starting formula. The painter's eye still makes the final call, because the goal is a match that looks right to a person standing next to the car, in daylight, from every side.
Step 4: Spray a test card
Before any paint goes on your car, a careful painter mixes a small amount and sprays it onto a test card, sometimes called a spray-out or let-down card, using the same technique they will use on the car. Once it is dry, they hold the card against the car and compare.
PPG's procedure recommends polishing the panels next to the repair so the painter is comparing against clean, true color, and judging the match in natural sunlight or under color-corrected light[2]. Shop lighting alone can fool you, which is why you may see a painter walk a test card outside.
If the card is not quite right, the formula is adjusted, tinted slightly, and sprayed again. You can watch Fly Garage mix a color on a scale, spray a test card and check it against color chips in the paint-matching clip on our collision repair and paint page.
Step 5: Blend into the next panel
Here is the step that separates a good repair from an obvious one. Even with a near-perfect formula, a freshly painted panel butted up against an old one can show a hard line where the two meet. The fix is blending.
The painter applies the base color fully on the repaired panel, then fades it out into the neighboring panel, so the eye never finds an edge. Clear coat then goes over the whole area. PPG's waterborne blending procedure allows a blend area of at least twelve inches into the adjacent panel for basecoat colors, and more for three-stage and four-stage colors, where it calls for a minimum of 24 inches[3].
That is why a repair to one door can mean paint on the fender or the next door too. It is not extra work for its own sake; it is how the repair disappears.
Step 6: Clear coat, cure and finish
After the color, the clear coat goes on. It gives the gloss and protects the color from sun and weather. The finish then needs time to cure before it is polished and the car is put back together. Rushing this stage is how you end up with dull spots, dust in the finish or clear coat that does not last.
After you pick up the car, follow the shop's instructions on washing and waxing. The right waiting time depends on the paint system used, so ask rather than guessing.
Special colors take longer
Some colors are harder than others:
- Tri-coat and pearl whites have a separate mid-coat that changes the color depending on how thick it is.
- Candies and flakes are built in layers, and every layer affects the final look.
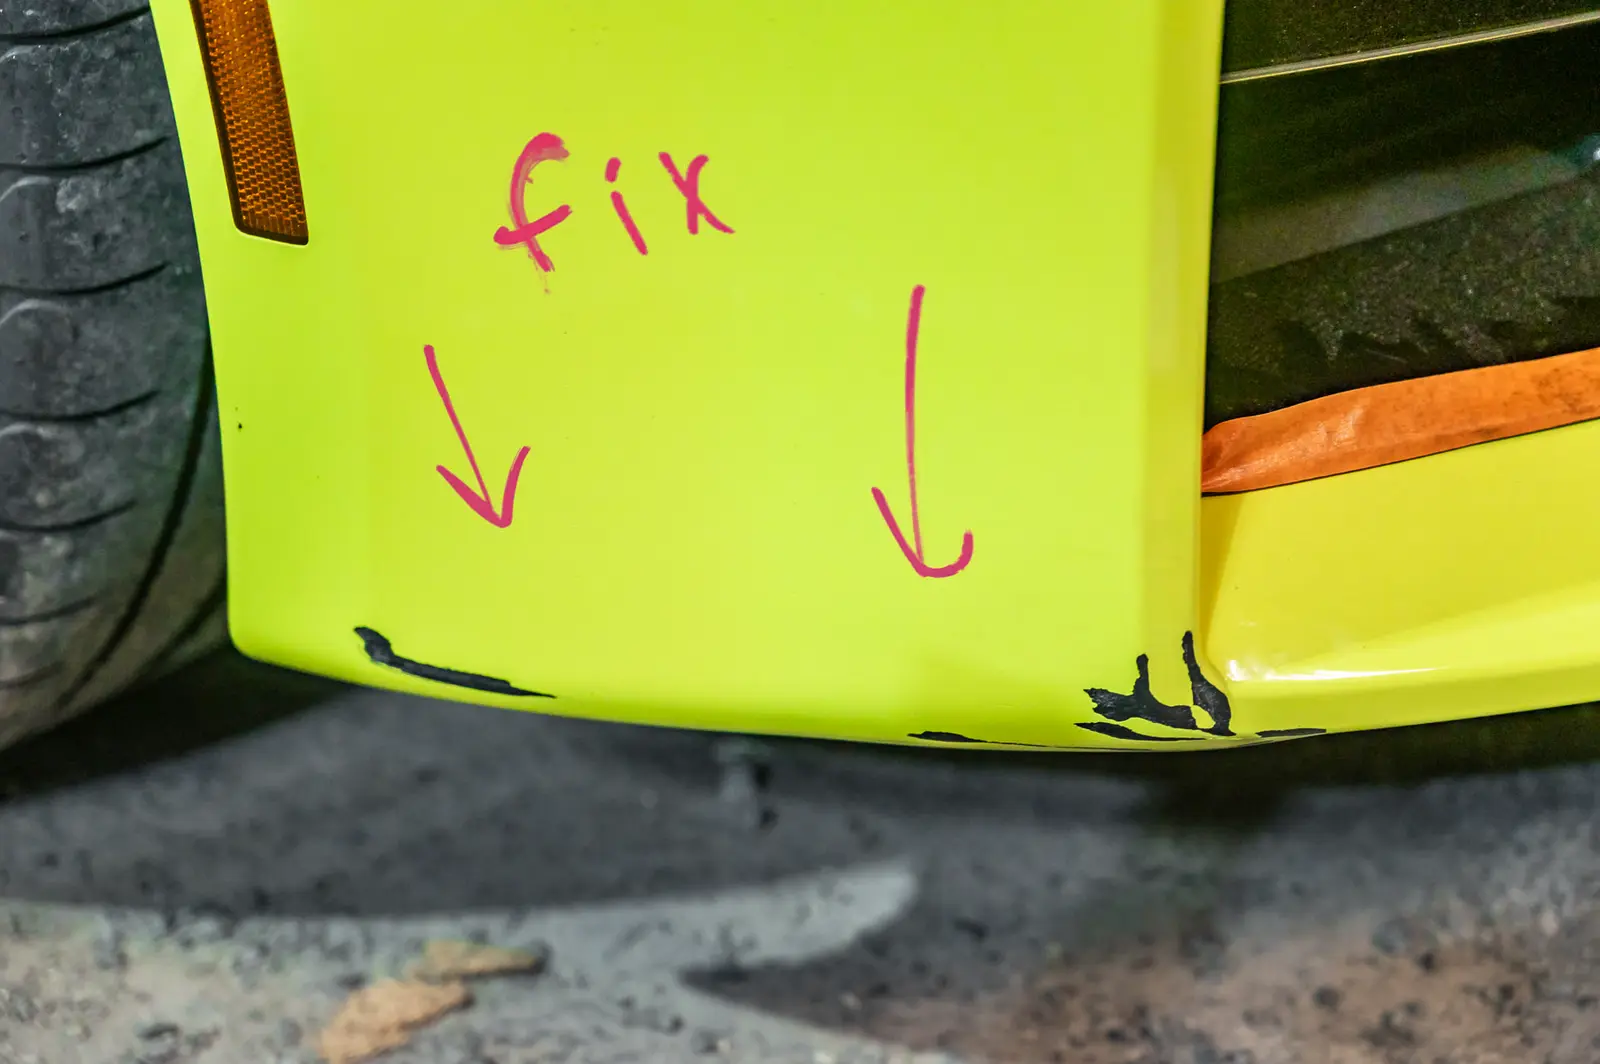
- Bright modern colors such as the yellows and greens on performance cars can be very sensitive to small formula changes.
For colors like these, expect more test cards and more blending. It is also why custom color work, like full color changes and show cars, is a project rather than a quick job. If you are planning one, our restoration and carbon fiber page covers custom paint projects.
What this means for your repair
If your car needs paint after a collision, a few questions help you understand the plan:
- Will the repair panel be blended into the panels next to it?
- How will you check the match before painting the car?
- How long should I wait before washing or waxing the new paint?
If insurance is paying for the repair, blending and the materials for it normally appear on the estimate as separate paint operations. Our guide to how insurance collision repair works explains how those estimates work, and our insurance repair page explains how to start one.
The short version
The paint code starts the process. The painter chooses the closest variant, measures and compares, sprays a test card, adjusts, and blends the new color into the neighboring panels so there is no visible edge. Then the finish needs time to cure. Done properly, nobody should be able to tell which panel was repaired.
To get a paint repair looked at, send photos to the Fly Garage body shop or call 808-285-3272.